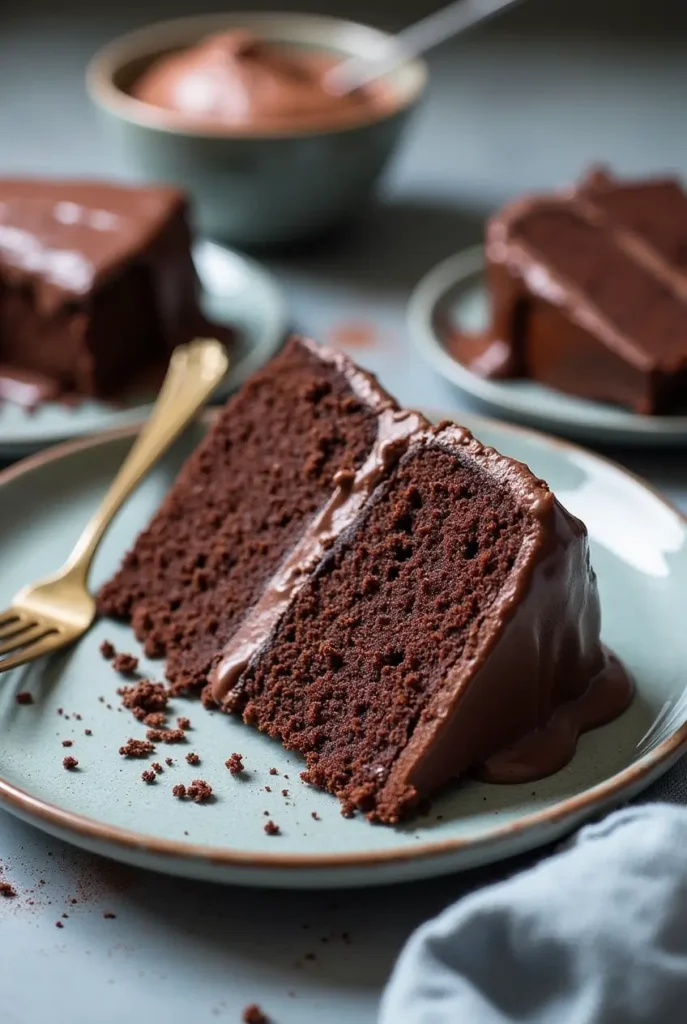
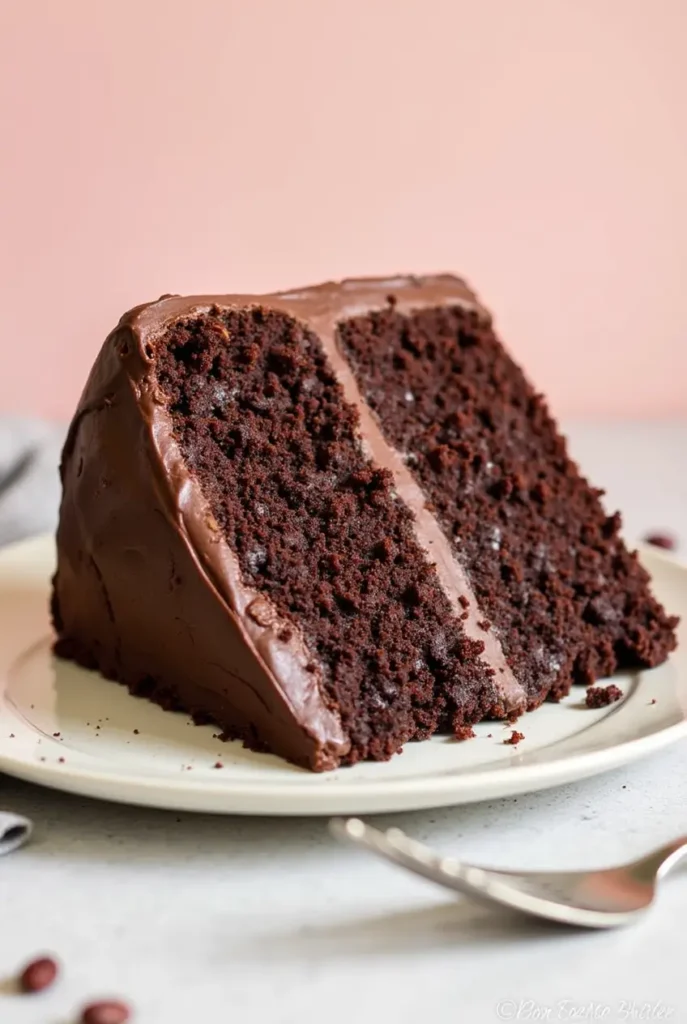
Introduction: The Magic of Chocolate Cake
There’s something undeniably comforting about a homemade chocolate cake. Whether it’s for a birthday, a holiday gathering, or simply a craving for something sweet, the perfect chocolate cake has a way of turning any occasion into a celebration. The rich, decadent taste of chocolate combined with a moist, fluffy texture is something that every baker wants to achieve. And you deserve to enjoy that joy of creating a chocolate cake that not only looks perfect but tastes divine.
In this step-by-step guide, I’ll show you how to bake a chocolate cake that will impress both beginners and experienced bakers alike. With just 5 easy steps, you’ll learn how to create a moist, flavorful chocolate cake that’s sure to become your go-to recipe. You’ll discover the right ingredients, baking techniques, and even frosting tips to make your cake picture-perfect.
Table of Contents

Why This Chocolate Cake Recipe is Foolproof
Before diving into the steps, let’s talk about why this recipe is the one you need. We’ve all tried chocolate cake recipes that promised to be the best but ended up dry or overly dense. What sets this recipe apart?
- Simple Ingredients: You don’t need a long list of fancy ingredients to make this cake. With just a few pantry staples, you’ll be on your way to baking a chocolate masterpiece.
- Perfect Texture: This cake is rich and moist, yet light and airy. The use of buttermilk ensures a tender crumb that keeps the cake fresh for days.
- Suitable for Any Occasion: Whether it’s for a casual family dinner or a big celebration, this cake will be the star of the show.
Now, let’s dive into the five simple steps to create this perfect chocolate cake.
Step 1: Gather Your Ingredients for the Perfect Chocolate Cake
The foundation of any great cake lies in its ingredients. Here’s a list of the essentials you’ll need:

Chocolate Cake Recipe Ingredients
| Ingredient | Amount | Notes |
|---|---|---|
| All-purpose flour | 1 ½ cups | Make sure to sift it for better texture |
| Unsweetened cocoa | ½ cup | Choose a high-quality cocoa powder |
| Baking powder | 1 tsp | For fluffiness and lift |
| Baking soda | 1 tsp | Helps with rising |
| Salt | ½ tsp | Enhances the flavor of the chocolate |
| Granulated sugar | 1 ½ cups | Regular sugar works best |
| Eggs | 2 large | Use room temperature eggs |
| Buttermilk | 1 cup | Provides moisture and tenderness |
| Vegetable oil | ½ cup | Or use melted butter for a richer taste |
| Hot water | 1 cup | Helps intensify the flavor of the chocolate |
Key Tips for Success
- Quality Cocoa: Choose unsweetened cocoa powder that’s high in quality for a deep, rich chocolate flavor.
- Room Temperature Ingredients: Eggs and buttermilk should be at room temperature to ensure smooth batter consistency.
- Don’t Skip the Sifting: Sifting your dry ingredients is essential for a smooth, lump-free batter and a light, airy cake texture.
Step 2: Prepare Your Cake Pans and Preheat the Oven
One of the most crucial steps in baking is ensuring that your oven and cake pans are ready to go. Here’s how you can do that:

Baking Setup
- Preheat the Oven: Set your oven to 350°F (175°C). This is the optimal temperature for baking a perfect chocolate cake, ensuring the cake rises properly without burning.
- Prepare Your Cake Pans: Grease and flour your cake pans or use parchment paper to prevent the cake from sticking. For an even distribution of batter, you may use two 9-inch round pans or one 9×13 inch rectangular pan.
- Check Pan Size: If you’re using a different pan size than recommended, adjust your baking time accordingly. A thinner cake will bake faster, while a thicker one may need a few extra minutes.
Pro Tip:
You can line the bottom of your cake pans with parchment paper for extra assurance that your cake will come out easily after baking.
Step 3: Mix the Wet and Dry Ingredients Together
Now that your oven is preheated and your pans are ready, it’s time to start mixing. Follow these steps to achieve the perfect batter:

Mixing Process
- Combine Dry Ingredients: In a large mixing bowl, whisk together the flour, cocoa powder, baking powder, baking soda, salt, and sugar. This helps ensure that all the dry ingredients are evenly distributed, preventing clumps in the batter.
- Whisk Wet Ingredients: In a separate bowl, beat the eggs with the oil (or melted butter) and buttermilk until smooth.
- Combine Wet and Dry: Gradually add the wet ingredients to the dry mixture, stirring just until combined. Avoid overmixing, as this can lead to a dense cake.
- Add Hot Water: Pour in the hot water and stir gently. This will make the batter thinner, but don’t worry—this is normal. The hot water helps intensify the chocolate flavor and keeps the cake moist.
Pro Tip:
Use a rubber spatula to gently fold the ingredients together. This will prevent overmixing and ensure a light texture.
Step 4: Bake Your Chocolate Cake to Perfection
Now comes the most exciting part—baking your cake. Follow these simple instructions to ensure it bakes perfectly every time:
Baking Instructions
- Pour the Batter: Evenly distribute the batter into the prepared pans. Use a spatula to smooth the top if necessary.
- Bake the Cake: Place the pans in the oven and bake for 30 to 35 minutes. The cake is done when a toothpick inserted into the center comes out clean or with just a few moist crumbs.
- Cooling: Let the cake cool in the pans for 10 minutes before transferring it to a wire rack. Cooling the cake slowly in the pan helps it set and reduces the risk of it falling apart.
Pro Tip:
If you’re baking a thicker cake (in a smaller pan), the baking time may increase slightly. Keep an eye on it, and test with a toothpick to ensure it’s done.
Step 5: Frost and Decorate Your Cake
Once your cake is cooled and ready to go, it’s time to add the finishing touch with frosting and decoration. Here’s how:
Frosting the Cake
- Choose the Right Frosting: The frosting you choose depends on your personal taste. A classic chocolate buttercream or ganache is a great choice, but you could also opt for whipped cream or a cream cheese frosting.
- Crumb Coat: Apply a thin layer of frosting to seal in any crumbs. This will help ensure your final layer of frosting is smooth and clean.
- Frost Generously: After the crumb coat has set, apply a generous layer of frosting to the sides and top of the cake. Smooth it out with a spatula to achieve a polished finish.
- Decoration: For extra flair, top your cake with chocolate shavings, sprinkles, fresh berries, or even edible flowers.
Pro Tip:
If you want a smooth and professional-looking finish, use an offset spatula for frosting. It will give you more control and help you create a clean, even layer.
Conclusion: Enjoy the Best Chocolate Cake You’ve Ever Made
There you have it—the perfect chocolate cake in just five simple steps. Now, it’s time to enjoy the fruits of your labor. Whether you’re celebrating a special occasion or simply treating yourself, this cake is sure to satisfy any chocolate lover’s cravings.
Remember, baking is all about having fun and experimenting. If you feel like trying different frostings, add-ins, or even different types of chocolate, feel free to get creative. The most important thing is that you enjoy the process and, of course, the delicious results!
FAQ: Your Chocolate Cake Recipe Questions Answered
Q1: Can I use a different type of flour for this chocolate cake recipe?
Yes, you can substitute gluten-free flour for the all-purpose flour. Just make sure to use a 1:1 gluten-free flour blend for the best results.
Q2: How can I make the cake even more chocolatey?
For an extra chocolatey cake, you can add a tablespoon of instant coffee or espresso powder. This will enhance the chocolate flavor without making it taste like coffee.
Q3: Can I use a different pan size?
Yes! You can use different pan sizes, but be mindful of the baking time. Smaller pans will bake the cake faster, while larger pans may take longer.
Q4: What if I don’t have buttermilk?
You can make a simple substitute by adding 1 tablespoon of vinegar or lemon juice to 1 cup of milk. Let it sit for a few minutes before using.
Call to Action: Share Your Chocolate Cake Creation!
Now that you’ve baked the perfect chocolate cake, it’s time to share your delicious creation with others! Whether it’s for a special event or just because, we’d love to hear how your cake turned out. Share your results in the comments below or tag us on social media using #PerfectChocolateCake. Happy baking!
